LEAP#415 Testing Nixies with a 555
I found some Nixie tubes at a reasonable price and snatched them up. I’m sure there’s a project waiting for them, I just haven’t figured out what it will be yet - a clock is a bit obvious!
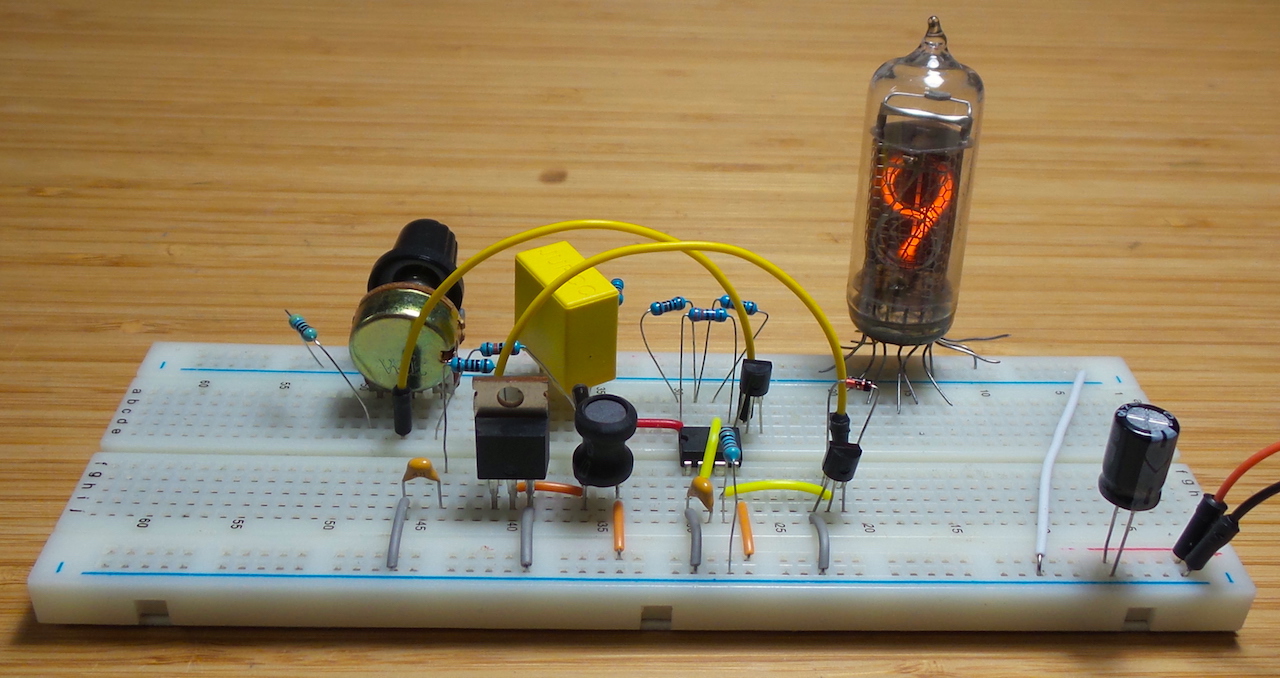
But first to test them out, and I stumbled across a few boost power supplies using a 555 timer. While these may not be the efficient or precise for a “real” circuit, they are certainly interesting enough for a quick test.
And it works quite nicely on a breadboard!
As always, all notes, schematics and code are in the Little Electronics & Arduino Projects repo on GitHub
read more and comment..
LEAP#414 7-Digit Decade Resistor Box
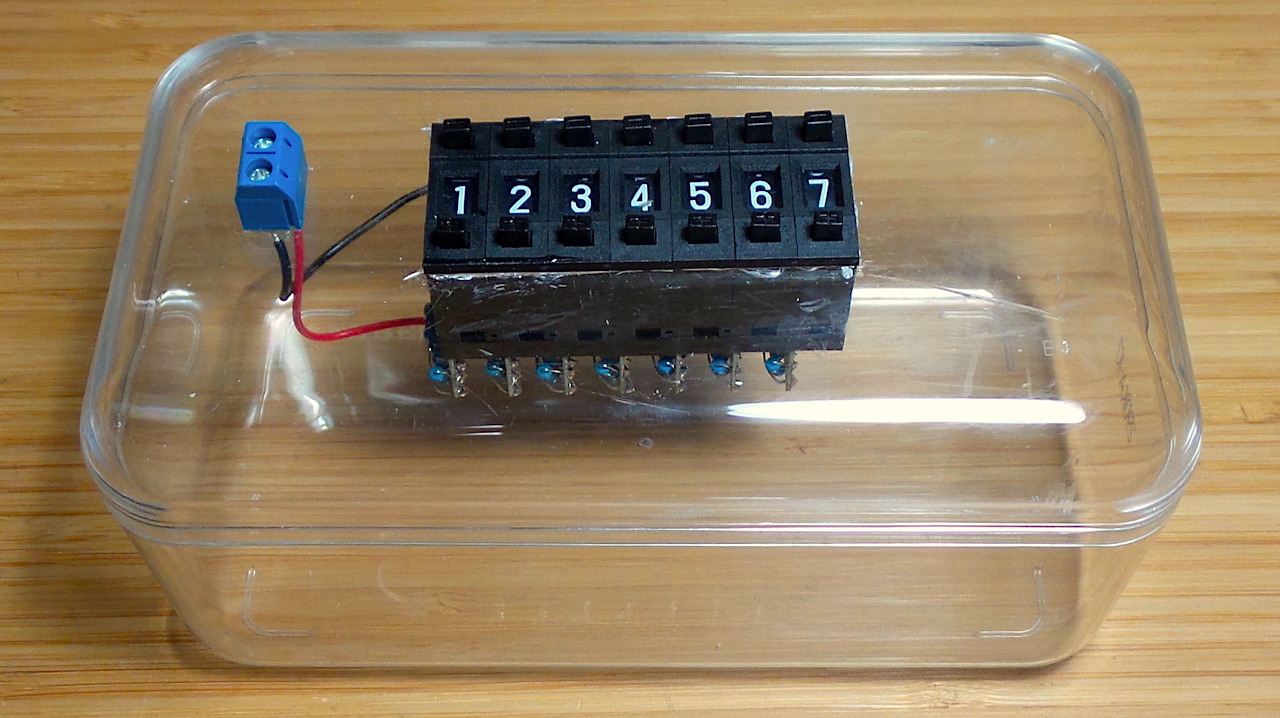
Finding some neat pushwheel/thumbwheel decade switches seemed like all the excuse I needed
to build a 7-digit decade box/decade programmable resistor
.. an old-fashioned bit of test equipment, allowing an arbitrary resistance to be dialed up to order.
As always, all notes, schematics and code are in the Little Electronics & Arduino Projects repo on GitHub
read more and comment..
LEAP#413 Rotary Encoder Digital Logic
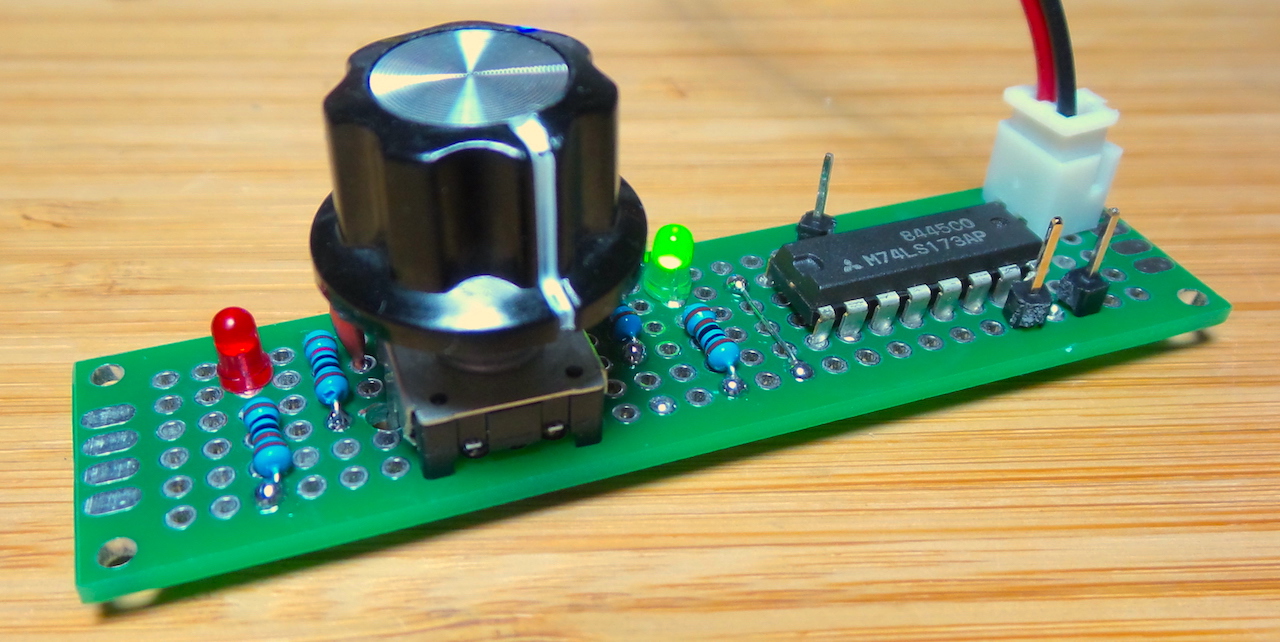
Incremental Rotary encoders typically provide quadrature output on two pins:

LEAP#118 RotaryEncoderMethods demonstrates various ways of using a rotary encoder with an Arduino, but I’m inspired to throw away the microcontroller for a more basic demonstration after reading Experiment 101: Rotary Encoders from ARRL Hands-on Radio (Vol 2).
This project demonstrates a forward/reverse LED indicator using simple digital logic and a mini rotary encoder.
As always, all notes, schematics and code are in the Little Electronics & Arduino Projects repo on GitHub
read more and comment..
LEAP#412 BJT Comparator
Analog comparators throw an output high or low based on the comparison of two voltages. Normally you’d use an OpAmp or Comparator IC for this, but here I’m testing the essential concept realised with discrete transistors.
As always, all notes, schematics and code are in the Little Electronics & Arduino Projects repo on GitHub
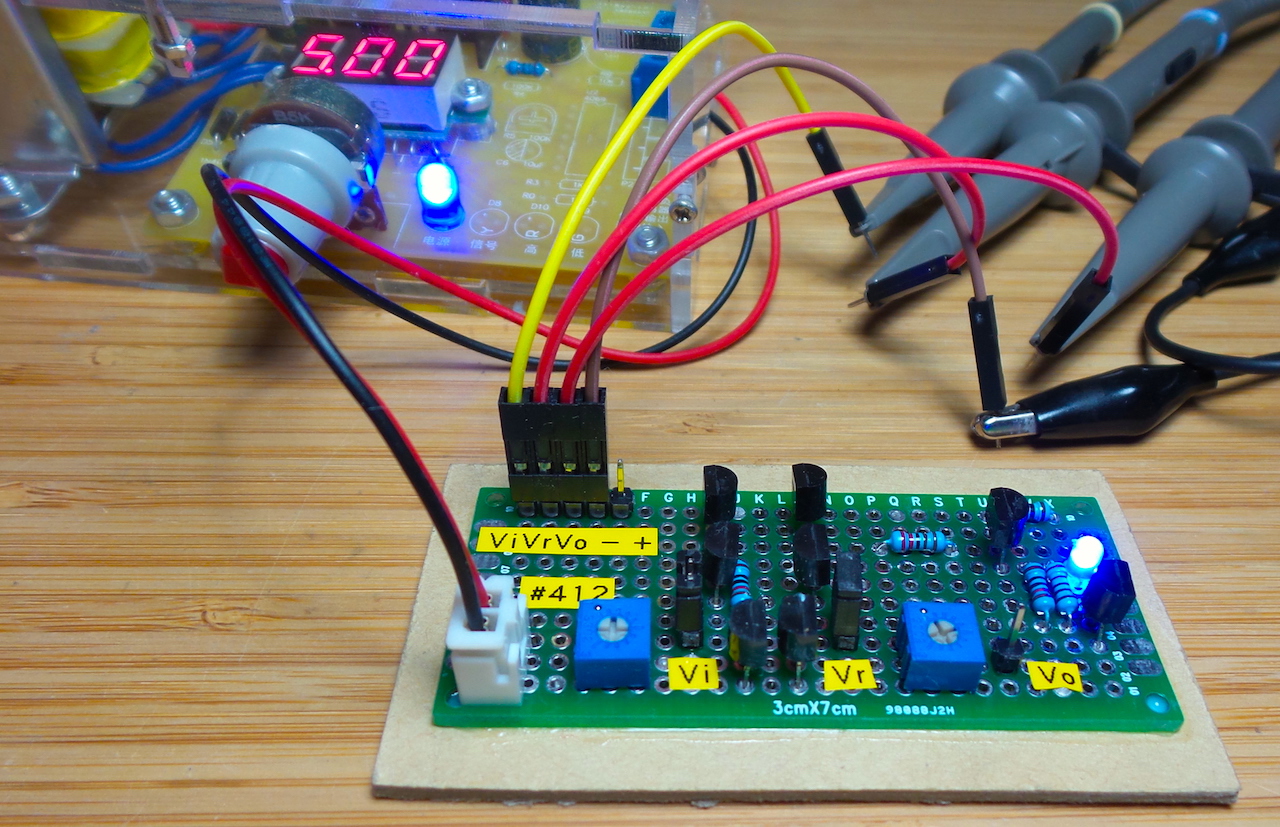
Here’s a trace of the output (red) resulting from the comparison of input (yellow) and reference (blue) voltages..
read more and comment..